Window10 64bit+PHP7+apache24+CodeIgniter 3.x 설치방법을 정리해 본다.
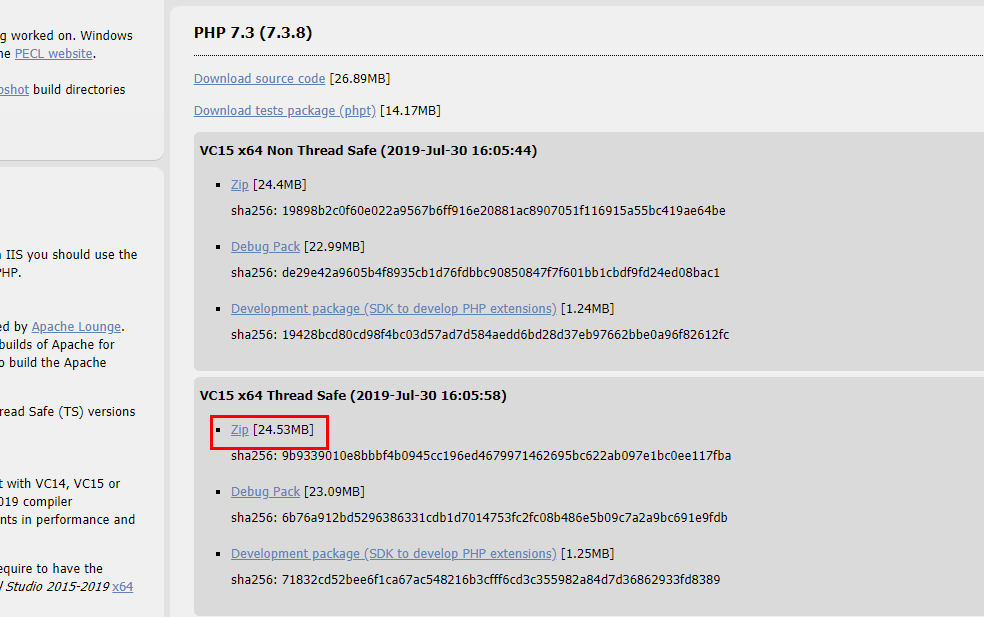
1. PHP7 다운로드
https://windows.php.net/download/
PHP For Windows: Binaries and sources Releases
Binaries and sources Releases Select an option to direct access... VC15 x64 Non Thread Safe VC15 x64 Thread Safe VC15 x86 Non Thread Safe VC15 x86 Thread Safe VC15 x64 Non Thread Safe VC15 x64 Thread Safe VC15 x86 Non Thread Safe VC15 x86 Thread Safe VC14
windows.php.net
2. VC15 x64 thread Safe 다운로드 한다.
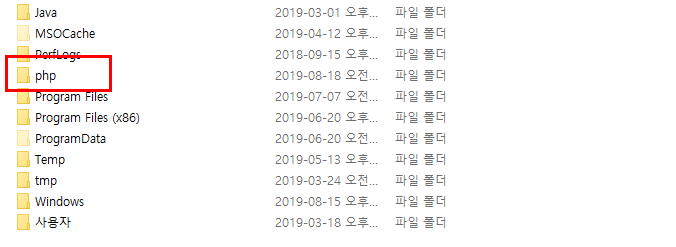
3.다운로드 받은 PHP Zip 파일 압축 풀어서 폴더 이름을 php 변경 후 c:\ 복사한다.
4. c:\php 폴더에 php7apache2_4.dll 파일이 있는지 확인 한다. 없으면 다른 버전을 받기 바란다.

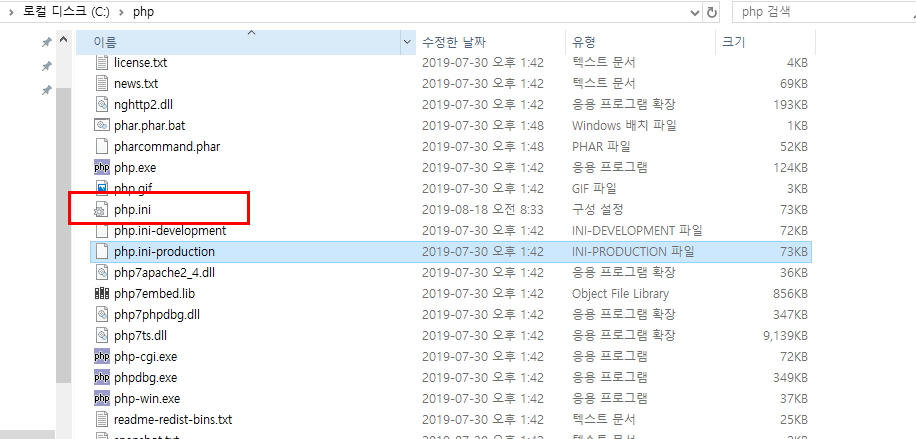
5. php.ini 파일을 생성한다.
c:\php\php.ini-production 파일을 복사해서 php.ini 파일을 생성한다.
6. apach2.4 64bit를 다운로드 한다.
https://www.apachelounge.com/download/win64/
Apache Win64 2.2 VC10 binaries and modules download
Apache 2.2 VC10 Windows 64 bits Binaries and Modules Apache Lounge has provided up-to-date Windows binaries and popular third-party modules for more than 15 years. We have hundreds of thousands of satisfied users: small and big companies as well as home us
www.apachelounge.com
7. apache2.4 압축을 푼 후 c:\apach24 복사한다.

8. apache2.4와 PHP7을 연동한다. C:\Apache24\conf\httpd.conf 파일을 열어서 파일 맨 아래에 다음과 같이 추가한다.
PHPIniDir "c:/php"
LoadModule php7_module "c:\php\php7apache2_4.dll"
LoadFile "c:\php\php7ts.dll"
AddType application/x-httpd-php .php .html

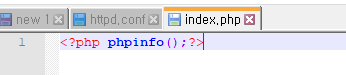
9. C:\Apache24\htdocs\index.php 파일을 생성한다.
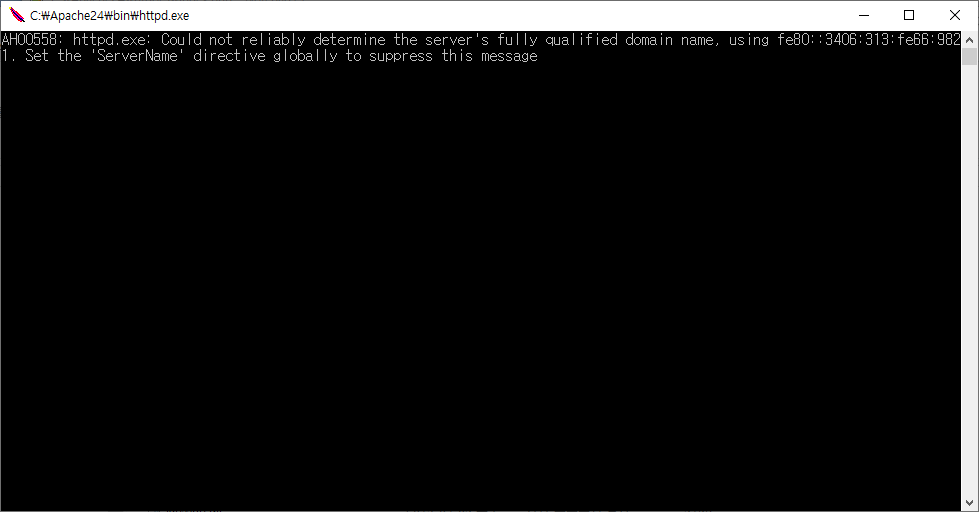
10. C:\Apache24\bin\httpd.exe 실행

httpd.exe 실행모습
11. http://localhost/index.php 인터넷으로 연결해서 아래와 같이 나오면 apache2.4+php7 연동 성공

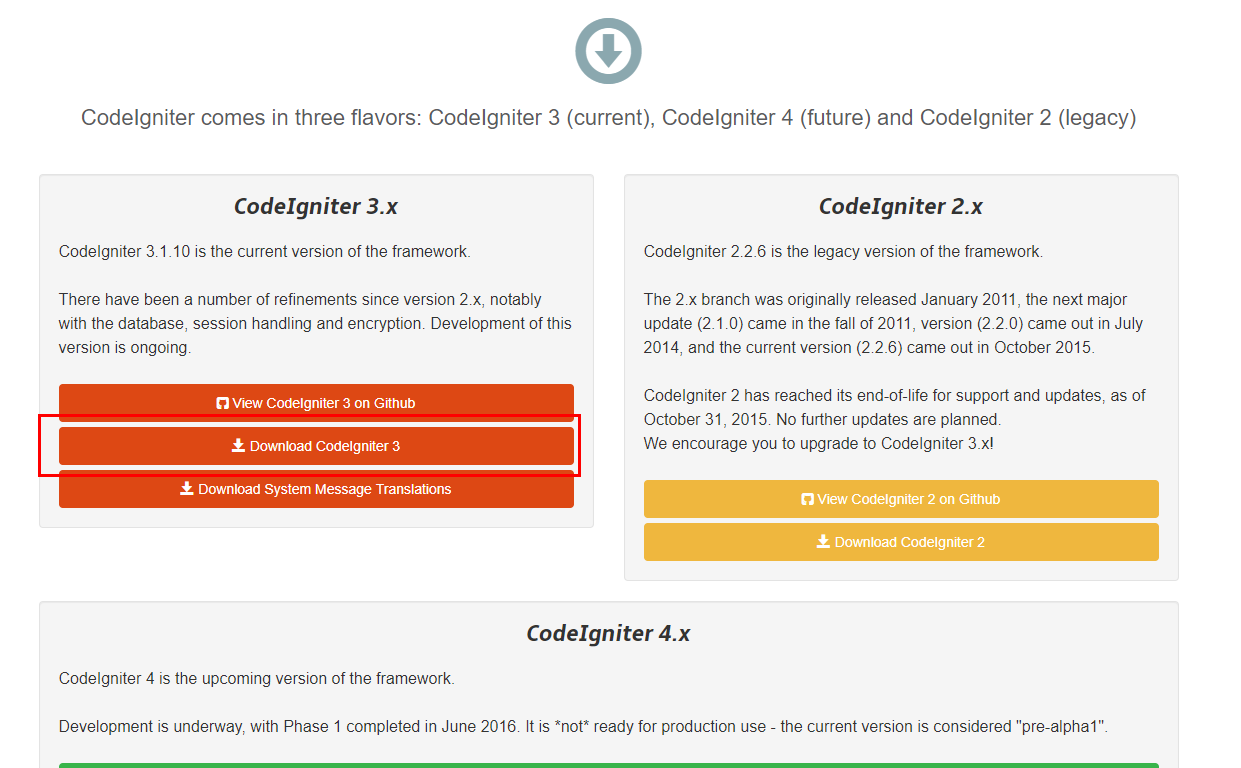
12. apach2.4+CodeIgniter 3 연동을 위해 CodeIgniter 3을 다운로드 받는다.
https://www.codeigniter.com/download
Download CodeIgniter
CodeIgniter comes in three flavors: CodeIgniter 3 (current), CodeIgniter 4 (future) and CodeIgniter 2 (legacy) CodeIgniter 2.x CodeIgniter 2.2.6 is the legacy version of the framework. The 2.x branch was originally released January 2011, the next major upd
www.codeigniter.com
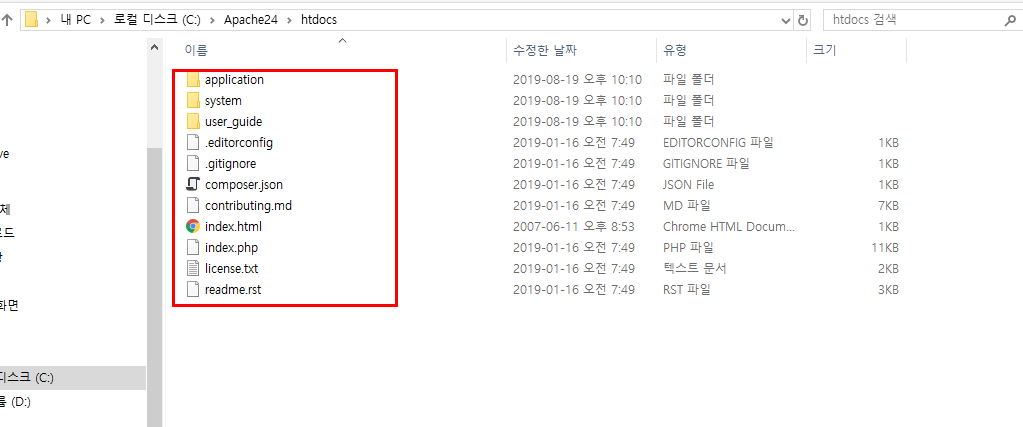
13. 다운로드 받은 파일을 압축풀어서 전체 파일을 C:\Apache24\htdocs 복사한다.
14. http://localhost/index.php/welcome 접속하여 아래와 같이 나오면 성공

15. http://localhost/index.php/welcome url을 http://localhost/welcome 경로로 사용하고 싶을때는 몇가지 설정을 해야 한다. 즉 경로 중 index.php를 삭제하는 것이다.
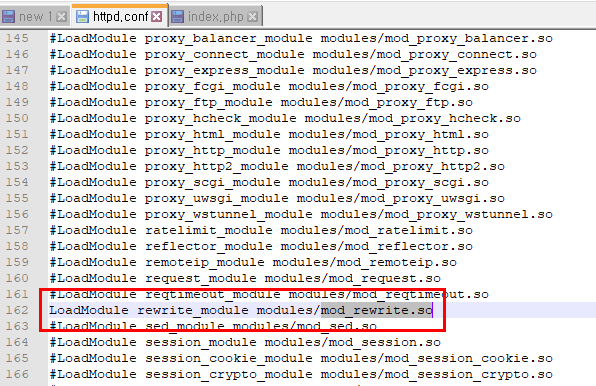
C:\Apache24\conf\http.conf 파일을 열어서
1) LoadModule rewrite_module modules/mod_rewrite.so 주석을 푼다.
#LoadModule rewrite_module modules/mod_rewrite.so
▽
LoadModule rewrite_module modules/mod_rewrite.so
2) 현재 프로젝트 설정 폴더(Directory)에 AllowOverride가 All로 설정되어 있는지 확인
AllowOverride All

16.CodeIgniter 설정변경한다.
C:\Apache24\htdocs\application\config\config.php
$config['index_page'] = '';
index_page를 찾아서 빈값으로 설정한다.

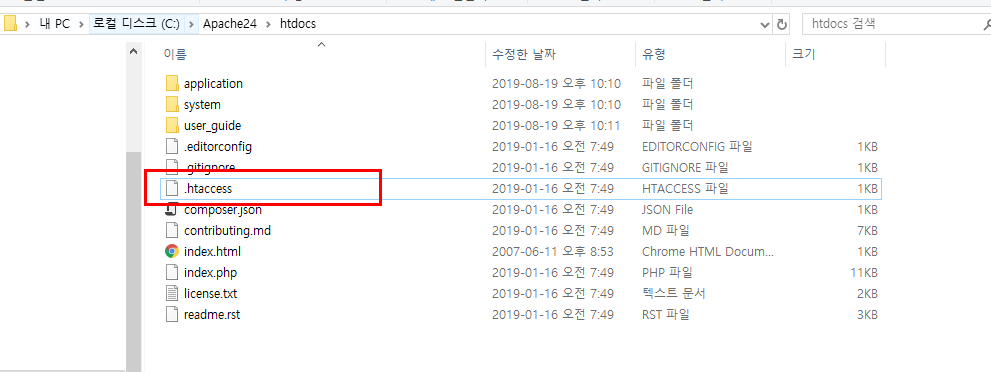
17. .htaccess 파일 추가
코드이그나이터(CodeIgniter)에 index.php가 존재하는 폴더에 .htaccess 파일을 추가합니다. (이미 존재하는 경우 수정합니다.) 윈도우가 아닌 경우 퍼미션(Permisson)을 755로 설정합니다.
.htaccess 파일에 아래 소스 추가
<IfModule mod_rewrite.c>
RewriteEngine On
RewriteCond %{REQUEST_FILENAME} !-f
RewriteCond %{REQUEST_FILENAME} !-d
RewriteRule ^(.*)$ index.php/$1 [L]
</IfModule>

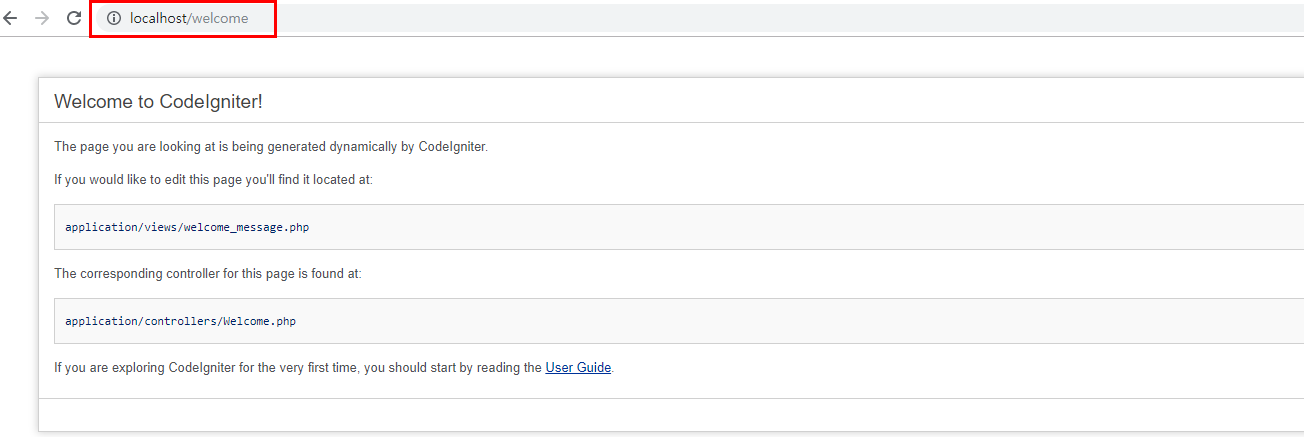
18. locahost/welcome 접속 후 아래와 같이 나오면 성공
'PHP > Codeigniter' 카테고리의 다른 글
| Codeigniter url helper redirect 후 url 경로[::1] 오류 (0) | 2019.08.25 |
|---|---|
| Window10+CodeIgniter Message: Call to undefined function mysqli_init() 오류처리 (0) | 2019.08.15 |
| eclipse+CodeIgniter 프레임워크 생성하기 (0) | 2019.08.15 |